

Home and Lifestyle
How to clean Shower Head
How to clean Shower Head
Discover the best methods for cleaning your shower head to improve water pressure and eliminate buildup. Follow our step-by-step guide for a spotless, efficient shower experience

Introduction

Importance Of Cleaning Your Shower Head
Regularly cleaning your shower head offers several benefits:
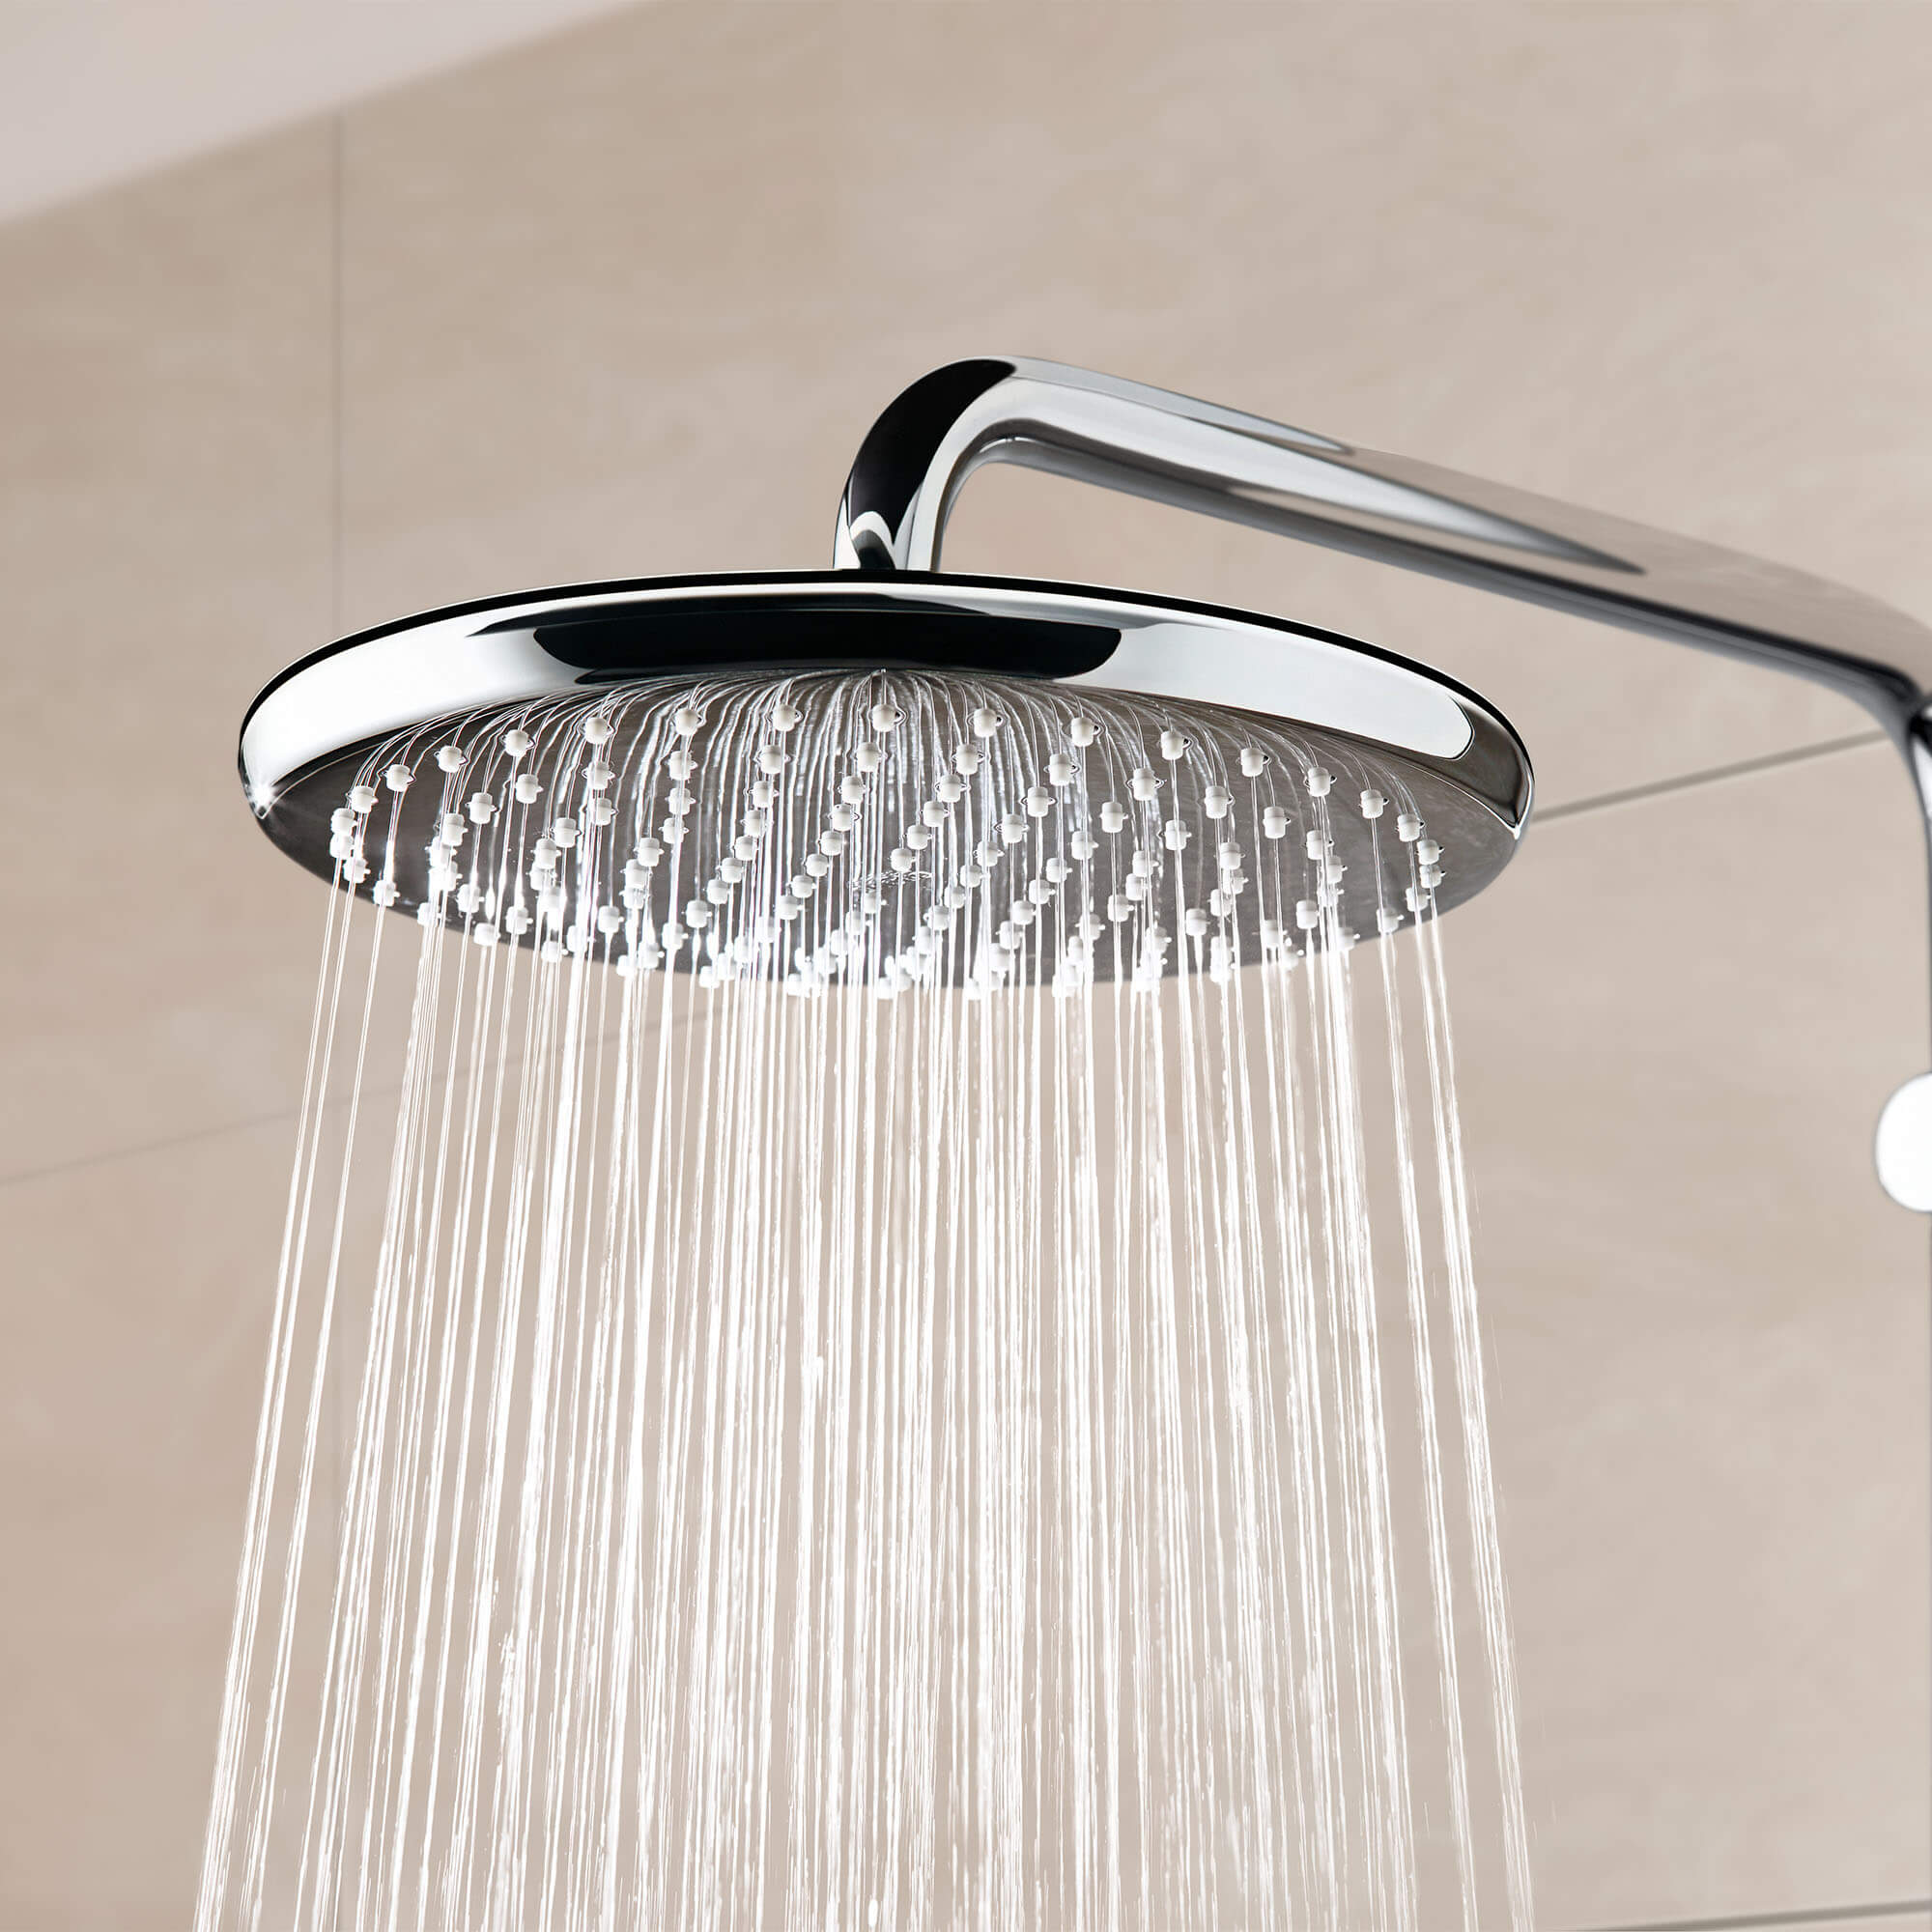
Improves Water Pressure: Mineral deposits can clog the nozzles, reducing water flow.
Eliminates Bacteria: Moist environments are perfect for bacteria growth, which can affect water quality.
Prevents Mold and Mildew: A clean shower head helps in preventing mold and mildew buildup.
Enhances Longevity: Regular maintenance can extend the life of your shower head.
How Often Should You Clean Your Shower Head?
For optimal performance, it's recommended to clean your shower head:
Monthly: For general maintenance, especially if you live in an area with hard water.
Every Three Months: For a deep clean to remove mineral buildup and bacteria.
Immediately: If you notice reduced water pressure, uneven spray patterns, or unpleasant odors.
Materials You’ll Need
-
White vinegar
-
Baking soda
-
Plastic bag
-
Rubber band or zip tie
-
Toothbrush
-
Microfiber cloth
-
Small needle or pin
Step-by-Step Guide: How to Clean a Shower Head

1. Removing the Shower Head (Optional)
For a thorough clean, it’s best to remove the shower head. However, you can still achieve great results without removing it.
Tools Needed: Adjustable wrench, plumber’s tape (for reinstallation).
Steps:
-
Turn Off Water Supply: Ensure the water supply to the shower is turned off.
-
Unscrew the Shower Head: Use an adjustable wrench to unscrew the shower head from the pipe. Wrap the jaws of the wrench in a cloth to avoid scratching the fixture.
2. Soak in Vinegar Solution
Why Vinegar? White vinegar is a natural descaler that effectively breaks down mineral deposits.
Steps:
-
Fill a Bag with Vinegar: Fill a plastic bag with enough white vinegar to submerge the shower head.
-
Attach the Bag: Secure the bag over the shower head using a rubber band or zip tie. Ensure the nozzles are fully submerged in the vinegar.
-
Soak: Let it soak for at least 1-2 hours. For severe buildup, leave it overnight.
3. Scrub Away Residue
Tools Needed: Toothbrush, needle or pin.
Steps:
-
Remove the Bag: Take the plastic bag off the shower head.
-
Scrub: Use a toothbrush to scrub the nozzles and the exterior of the shower head.
-
Dislodge Clogs: Use a needle or pin to gently poke through any clogged nozzles, removing remaining deposits.
4. Rinse and Reinstall
Steps:
-
Rinse Thoroughly: Run water through the shower head to rinse away vinegar and loosened debris.
-
Reinstall the Shower Head: Screw the shower head back onto the pipe, using plumber’s tape to ensure a tight seal. Tighten with a wrench, taking care not to overtighten.
5. Final Flush
Steps:
-
Turn On Water Supply: Restore the water supply and turn on the shower.
-
Flush Out Residue: Allow water to flow through the shower head for a few minutes to flush out any remaining vinegar or debris.
See more: how-to-clean-tiles-in-the-bathroom
Alternative Method: Cleaning Without Removal

If you prefer not to remove the shower head, you can still clean it effectively:
Steps:
-
Fill a Bag with Vinegar: As before, fill a plastic bag with white vinegar.
-
Attach the Bag: Secure the bag over the shower head, ensuring it’s fully submerged.
-
Soak: Let it soak for 1-2 hours or overnight for severe buildup.
-
Scrub and Rinse: Remove the bag, scrub with a toothbrush, and run water to rinse thoroughly.
Tips for Maintaining a Clean Shower Head
-
Wipe Down After Use: After each shower, wipe the shower head with a microfiber cloth to prevent buildup.
-
Use a Water Softener: If you have hard water, consider installing a water softener to reduce mineral deposits.
-
Regular Vinegar Soaks: Perform a vinegar soak every few months to keep your shower head in top condition.
Conclusion
Keeping your shower head clean is essential for maintaining water pressure, preventing bacteria growth, and ensuring a pleasant shower experience. By following these simple steps, you can easily keep your shower head in pristine condition. Remember, a little maintenance goes a long way in ensuring your bathroom remains a haven of cleanliness and relaxation.
For more cleaning tips and expert advice, visit Tidyex – your ultimate source for home cleaning solutions!